The best way to learn Elementor is to create a new page and inspect the various parts of the page builder interface. To do this navigate to Pages in the sidebar and click on Add New. Click on the blue “Edit in Elementor” button to launch the page builder. Once the page builder has loaded you will see a screen similar to the one below.
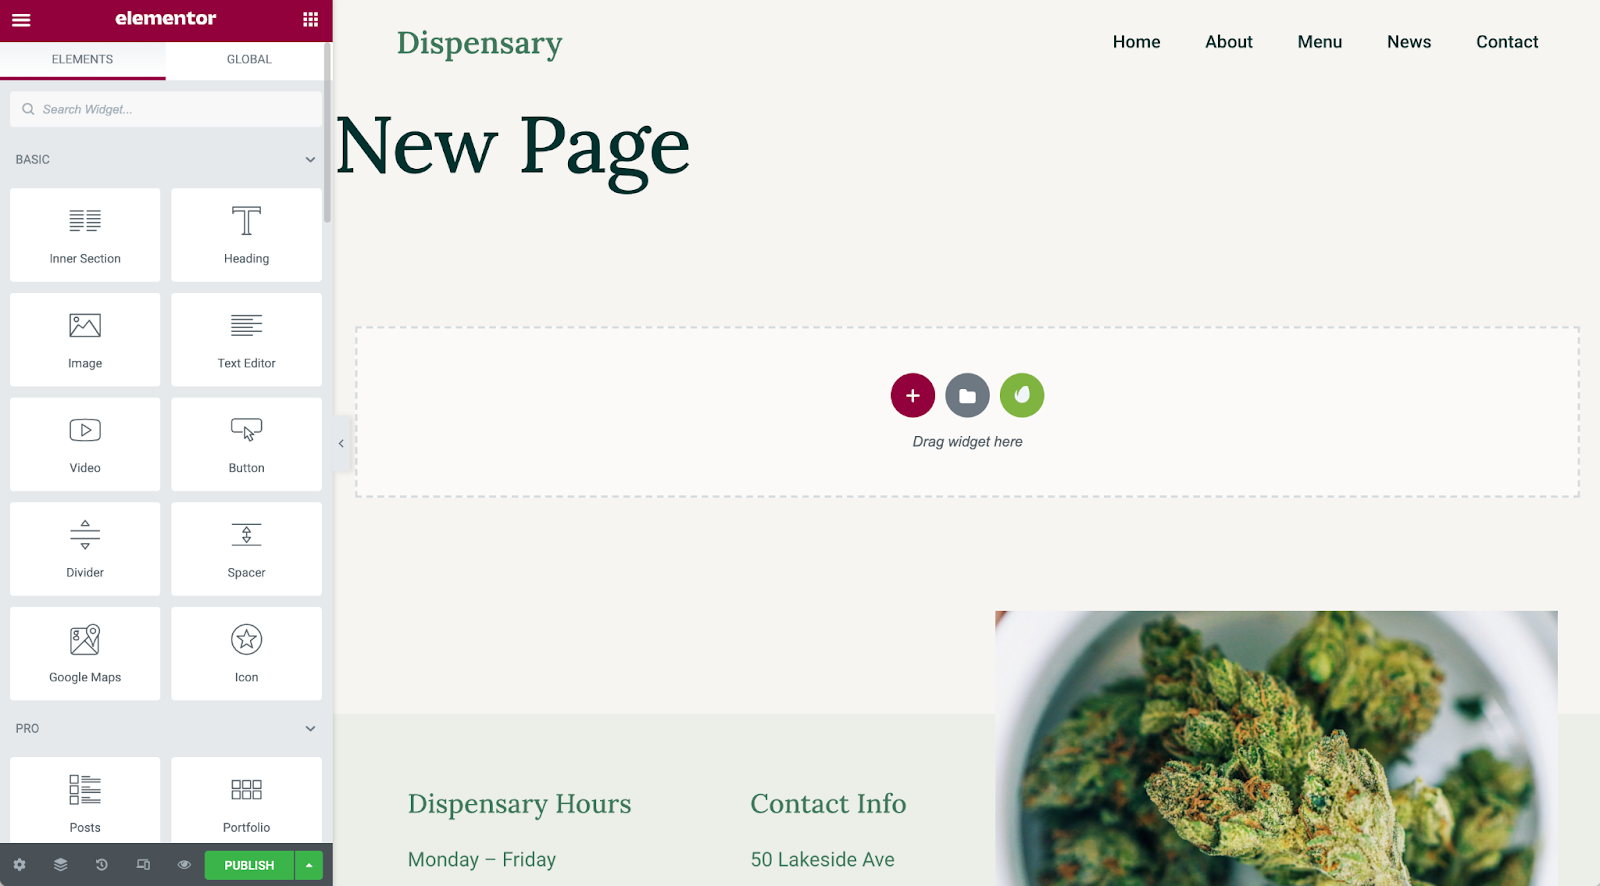
The nice thing about working in the page builder is that you are editing a live preview of the page. In the middle you will see an opaque box with icon buttons. You can use these to quickly load blocks or pre-built templates into the page. In the left column you will see all available widgets and elements available. Scroll through the left column to find more options or use the search field at the top to find the block you are looking for. Once you found a block simply click and drag onto the page.
The grey bar at the bottom of the column contains additional tools and actions. The cog icon (far left) opens the page settings panel, which allows you to edit the page title, SEO, etc.

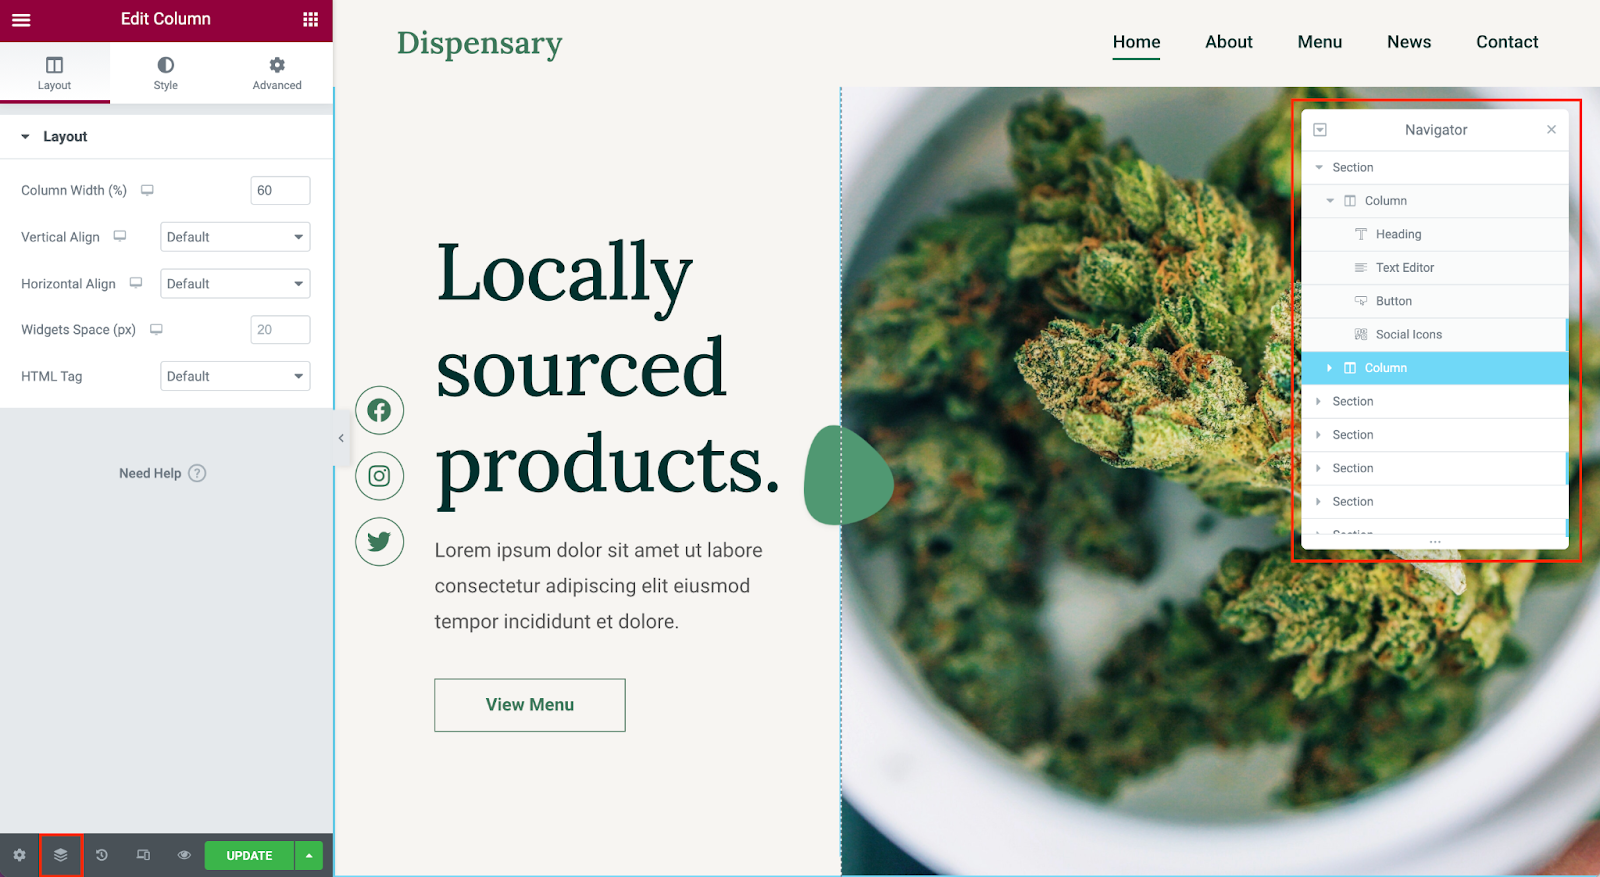
Click on the layers icon (second to the left) to launch a navigator window. The navigator window allows you to easily find the block you need to edit – this can be helpful on a larger, complex page.
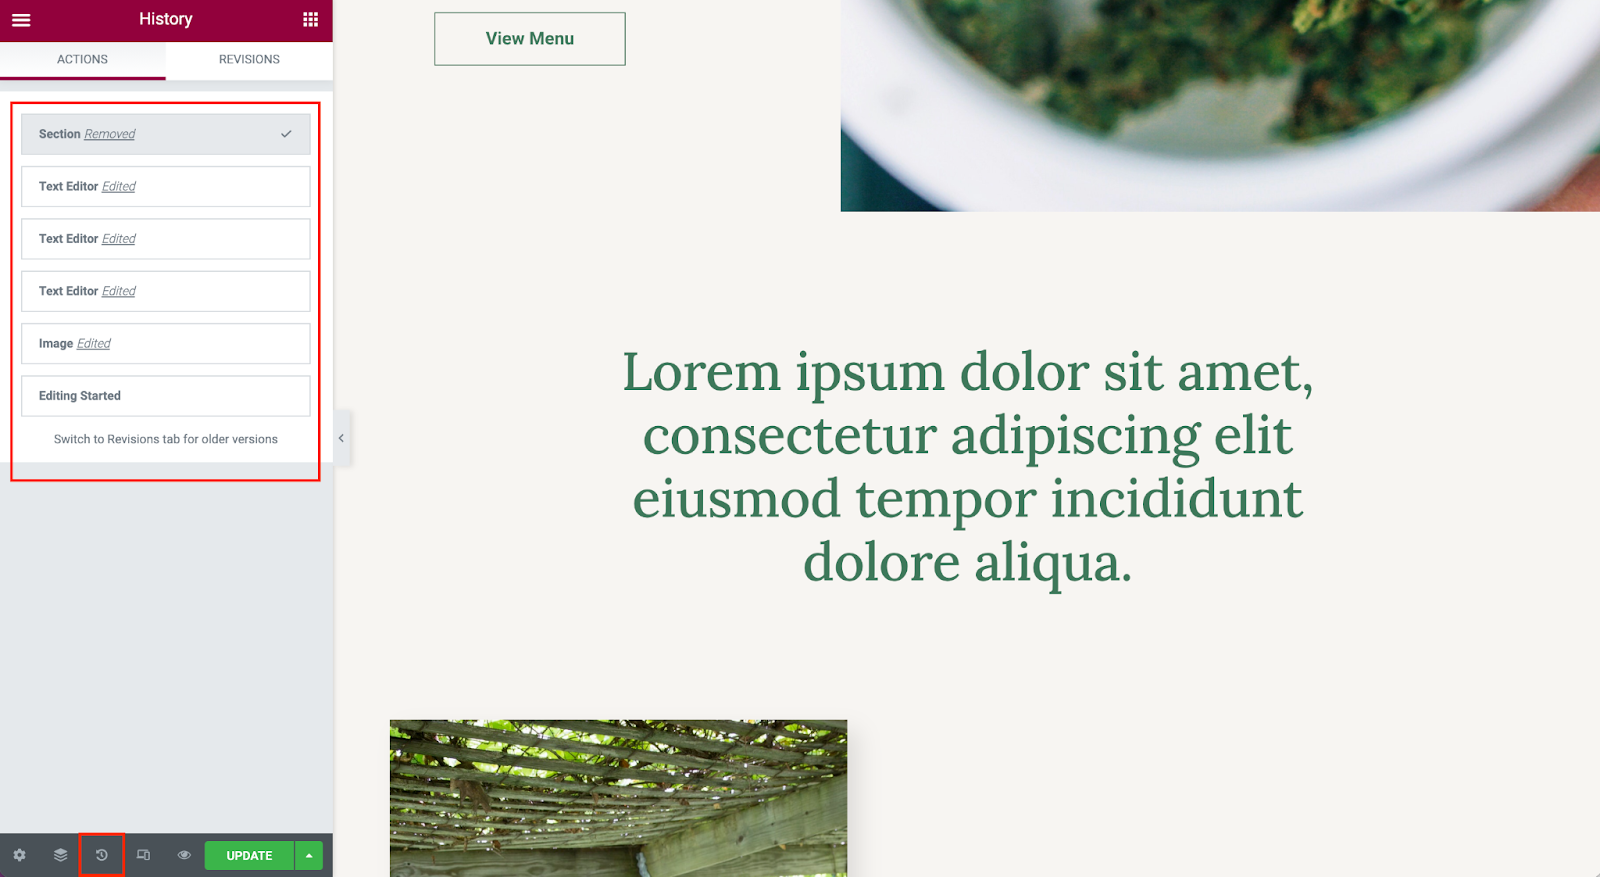
The rewinding clock icon (middle) allows you to revert changes. Each time an edit is made it is listed in the History panel, so that you can easily revert changes you’ve made. Note that the history panel is organized into two different tabs: Actions and Revisions. Actions are for your current editing session. Revisions allow you to revert back much further. Every time the page is saved a revision is backed up.
The devices icon (second from the right) allows you to toggle between preview sizes for when you need to see how the page will look on a tablet or mobile screen.

The eye icon (far right) let’s you preview changes in a new tab. This is a helpful tool to use before updating or publishing the page. To view the page live before publishing all changes for the public to see, click on the icon. A new tab will appear with the preview. Click back to the edit tab in your browser to publish or continue making changes.
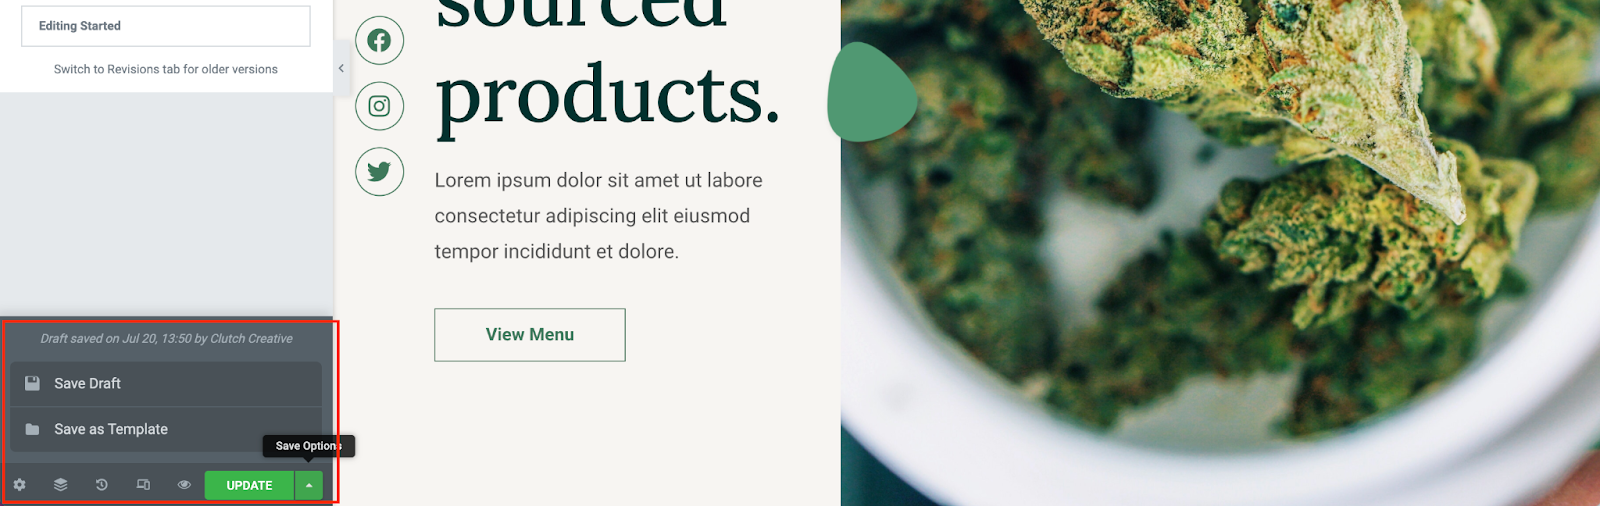
Lastly, the green button in the grey toolbar is used to confirm changes. For a new page it will say “Publish” and for an existing page “Update”. For additional save options click on the small arrow icon to the right of the button. If you do not want to publish the changes immediately, you could select Save Draft and return to the page later to publish.